
Introduction
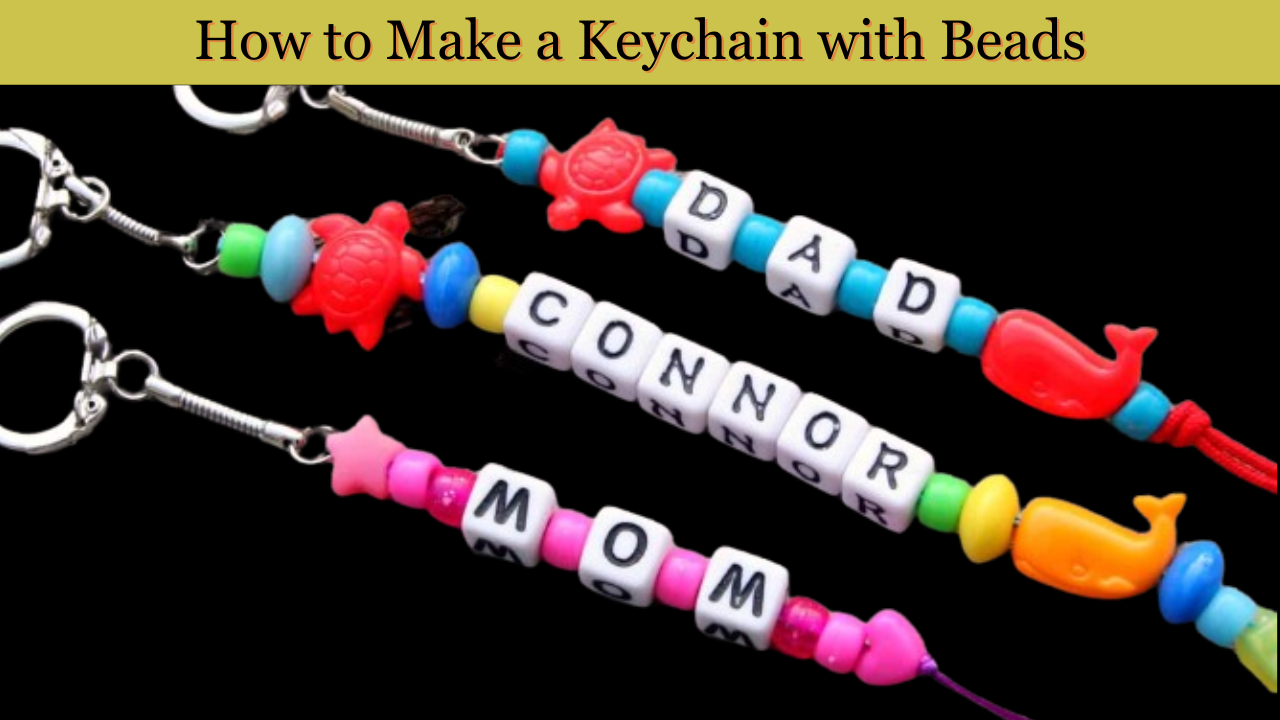
In a world where personalization is key, accessorizing not only adds uniqueness but also provides a therapeutic and creative outlet. Making a beaded keychain is a beautiful way to show your individuality and create a functional piece of art. In this step-by-step guide, we’ll explore how to create joy with a personalized pearl keychain.
Materials Needed:
- Assorted beads
- Keyring
- Jewelry wire or nylon cord
- Jump rings
- Needle-nose pliers
- Scissors
- Clasps (optional)
- Charm or pendant (optional)
Step 1: Gather Your Materials
Gather all the necessary materials before diving into the creative process. Choose pearls that reflect your style or the recipient’s taste. Consider a combination of colors, shapes, and sizes to add visual interest to the key.
Step 2: Plan Your Design
Take a moment to design a key chain. Consider creating a pattern, changing the colors, or adding a theme. Drawing the design on paper can be helpful because you have a clear vision before stringing the beads.
Step 3: Cut the Wire or Cord
Measure and cut the appropriate length of jewelry wire or nylon cord for your key ring. Make sure it’s long enough to hold the beads you’ve chosen and leave room to tie knots or attach a key ring.
Step 4: Start Stringing Beads
String the first bead onto the thread or string, leaving a small tail to tie later. Continue adding beads to your design. Try different layouts until you get the look you want. If you are using a pendant or charm, add it to the center of your design.
Step 5: Secure the Beads
After stringing all the beads, secure the ends with a knot. If using nylon string, add some clear nail polish to the nail knots for added durability.
Step 6: Attach the Keyring
Open the jump ring with pliers and attach it to the end of your string of pearls. Then add the key ring to the jump ring and close it properly. If you want, you can also use clips to make it easier to attach and remove the key chain.
Step 7: Finishing Touches
Check the key chain for loose ends or uneven beads. Carefully cut the excess wire or string with scissors. If you want, add a drop of clear glue to the knots for extra security.
Step 8: Showcase Your Creation
Now that your beaded keychain is ready, proudly display your handmade creation. Attach it to your keys, bag or gift it to a friend to spread the joy of crafting.
Conclusion:
Making a beaded keychain is a wonderful and rewarding experience. Whether you’re expressing your creativity or creating a thoughtful gift, the personal touch of a handmade key ring adds a unique touch to your everyday accessories. So, collect your pearls, unleash your creativity and enjoy the process of making a key chain that reflects your style and personality.
Share this content: